In our daily lives, paper bags are everywhere. Whether we're shopping at the supermarket, carrying gifts, or packing food from a restaurant, they play a vital role. But where do these seemingly ordinary paper bags actually come from? Behind their creation lies a series of complex and fascinating processes.

Sources of Raw Materials
Tree Resources
The main raw material for the vast majority of paper bags is pulp, and the primary source of pulp is trees. There are numerous tree species suitable for papermaking. Coniferous trees such as spruce and pine, and deciduous trees like birch and eucalyptus are common choices. These trees grow in forests around the world, providing a continuous supply of resources for the paper industry. Forest management is of great importance. The development of sustainable forestry ensures a balance between tree felling and planting to maintain the stability of the ecological environment. For example, in some large forest farms, for every tree cut down, multiple new saplings are planted to ensure the renewability of forest resources.
Recycled Fibers
In addition to virgin trees, the proportion of recycled fibers in paper bag production is also increasing. Waste paper in daily life, such as old newspapers, magazines, and office paper, can all become valuable raw materials for making paper bags. Recycled fibers not only reduce the demand for new trees and relieve the pressure on forests but also significantly cut down on energy consumption and greenhouse gas emissions. Many cities have established a comprehensive paper recycling system. Residents sort and dispose of waste paper, and recycling companies collect and process it, converting these discarded papers back into usable pulp.
From Raw Materials to Pulp
Mechanical Pulping
Mechanical pulping is one of the methods to directly process wood into pulp. In this process, the logs are first debarked, and then through mechanical devices such as grinders, the wood is ground into fine fibers. This method can retain more lignin in the wood, and the produced pulp has high strength, making it suitable for manufacturing some paper bags with high strength requirements, such as packaging paper bags for industrial products. However, mechanical pulping consumes a large amount of energy, and the produced paper is darker in color and usually requires subsequent bleaching treatment.
Chemical Pulping
Chemical pulping, on the other hand, uses chemical agents to separate cellulose from other components in the wood. Common chemical pulping methods include the kraft process and the sulfite process. In the kraft process, the wood is cut into small pieces and mixed with chemical drugs such as sodium hydroxide and sodium sulfide and cooked under high temperature and pressure. This method can effectively remove lignin, and the produced pulp has high whiteness and fine fibers, making it suitable for manufacturing high-quality paper bags, such as high-end gift bags and food packaging bags. Although chemical pulping can obtain high-quality pulp, the wastewater generated contains a large number of chemical substances and needs to be treated strictly before being discharged to protect the environment.
Turning Pulp into Paper
After a series of pretreatment processes such as screening and purification, the pulp enters the papermaking stage. The paper machine is the key equipment for converting pulp into paper. The pulp is diluted into a low-concentration suspension and then evenly distributed on the wire section of the paper machine. As the paper machine operates, the water is filtered out through the small holes in the wire section, and the fibers gradually interweave to form a wet paper web. The wet paper web then undergoes processes such as pressing and drying to further remove water, and finally, paper with a certain strength and thickness is formed. With the continuous development of modern papermaking technology, the efficiency of paper machines and the quality of paper have been greatly improved, enabling the production of papers with different specifications and properties to meet the various needs of paper bag production.
Processing Paper into Paper Bags
Printing and Design
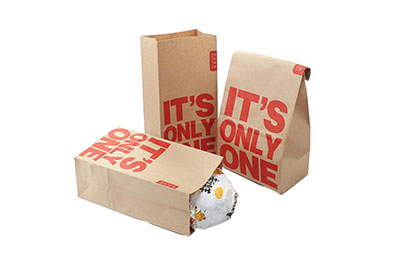
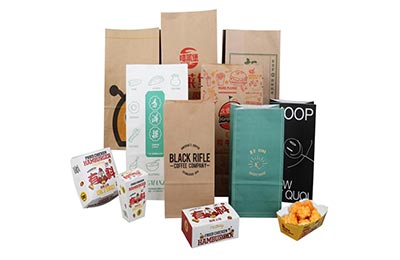
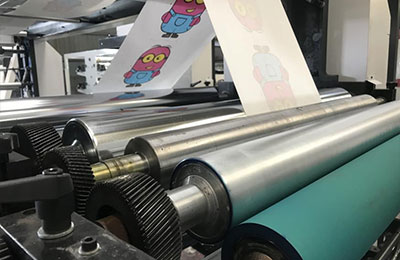
Once the paper is produced, printing and design are carried out first. There are a variety of printing processes for paper bags, such as offset printing, flexographic printing, and screen printing. During the printing process, according to the customer's requirements, brand logos, patterns, text, and other information are printed on the paper, giving the paper bag a unique appearance and promotional function. The design team will carefully design the patterns and layout according to the purpose of the paper bag and the target market, making the paper bag not only practical but also aesthetically appealing and attractive. For example, gift paper bags may adopt exquisite patterns and gold stamping processes, while supermarket shopping bags focus more on clear information display.
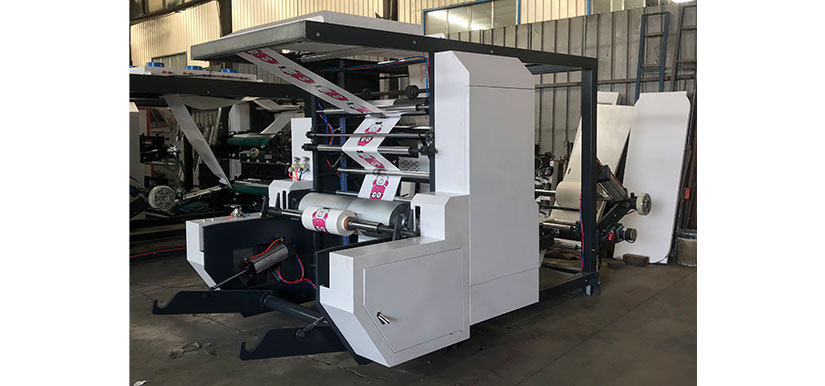
Cutting and Shaping
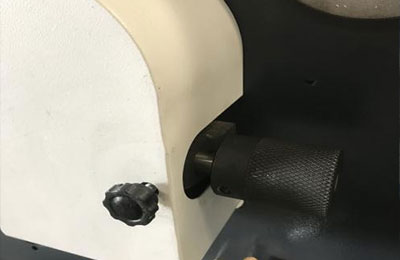
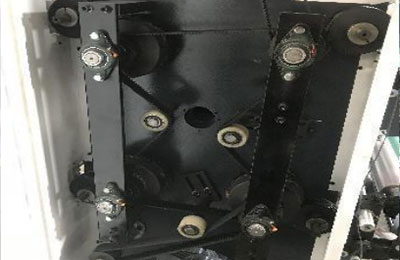
After printing, the paper is cut into the right size, and then folded, glued and made into the shape of a paper bag. Paper bags come in different shapes and structures, including flat bags, tote bags, envelope bags, etc. During the production process, special paper bag making equipment is needed to ensure that the paper bags are accurate in size and have neat edges. Our Paper bag machine, Handle Sticking Machine can complete all the above details. For example, the handle part of a tote bag needs to be firmly installed on the bag body to ensure that it can withstand a certain weight. Some complex paper bags may also need to add lining or other auxiliary materials to enhance its performance and protect the items inside.
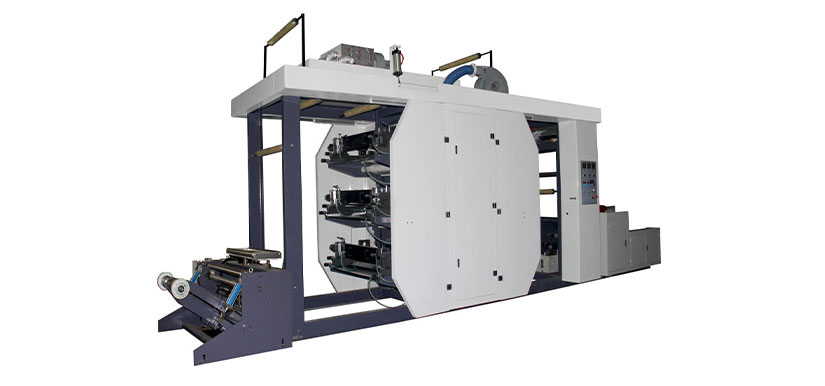
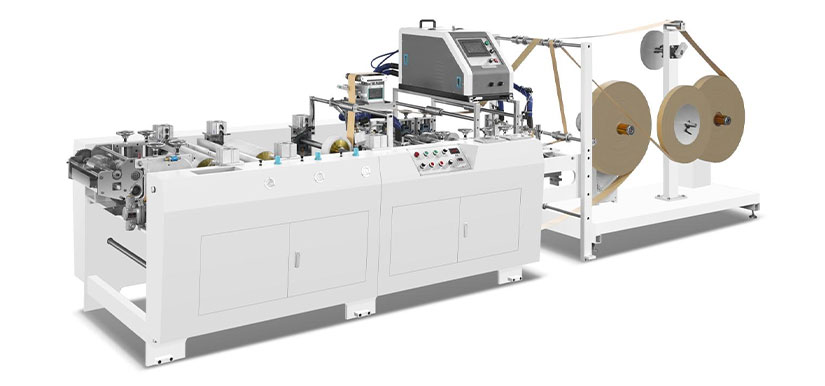
XKJD-400 Adjustable Roll Feeding Common V Bottom Paper Bag Machine With Tracking
Quality Inspection and Packaging
Finally, the produced paper bags need to go through strict quality inspection. The inspection content includes aspects such as the strength of the paper bag, printing quality, and dimensional accuracy. Only paper bags that meet the quality standards can enter the market for sale. Qualified paper bags are neatly packaged and shipped to various merchants and consumers. Quality inspection is not only a guarantee of product quality but also a protection of consumer rights and interests, ensuring that the paper bag can perform its proper function during use.

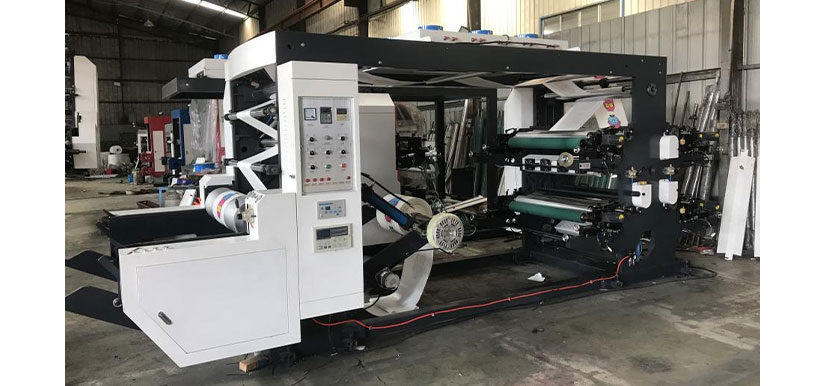
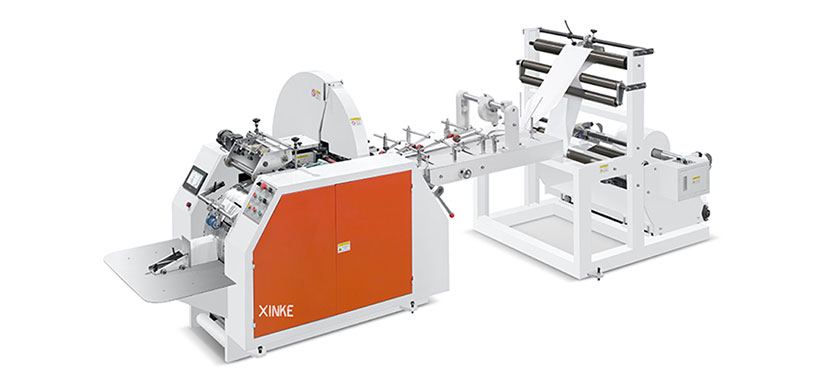
XKBS-02 Flat Paper Handle Making Machine
In short, paper bags are mainly made from pulp that is mechanically or chemically pulped, then processed into paper, and then made through processes such as printing and cutting. Finally, quality inspection is required to complete the finished product.
From the trees in the forest to the paper bags in our hands, this process goes through multiple stages and complex techniques. The production of paper bags not only relies on rich natural resources but also benefits from advanced technology and strict quality control. At the same time, the use of recycled fibers also reflects the concept of sustainable development, allowing us to enjoy the convenience brought by paper bags while also contributing to environmental protection.